
iPhone Voice Memos to MP3: Sharing Recordings Anywhere
Voice Memos saves M4A files that choke car stereos, Windows tools, and half the web's upload forms. The convert-trim-share workflow, and where iOS actually hides the files.
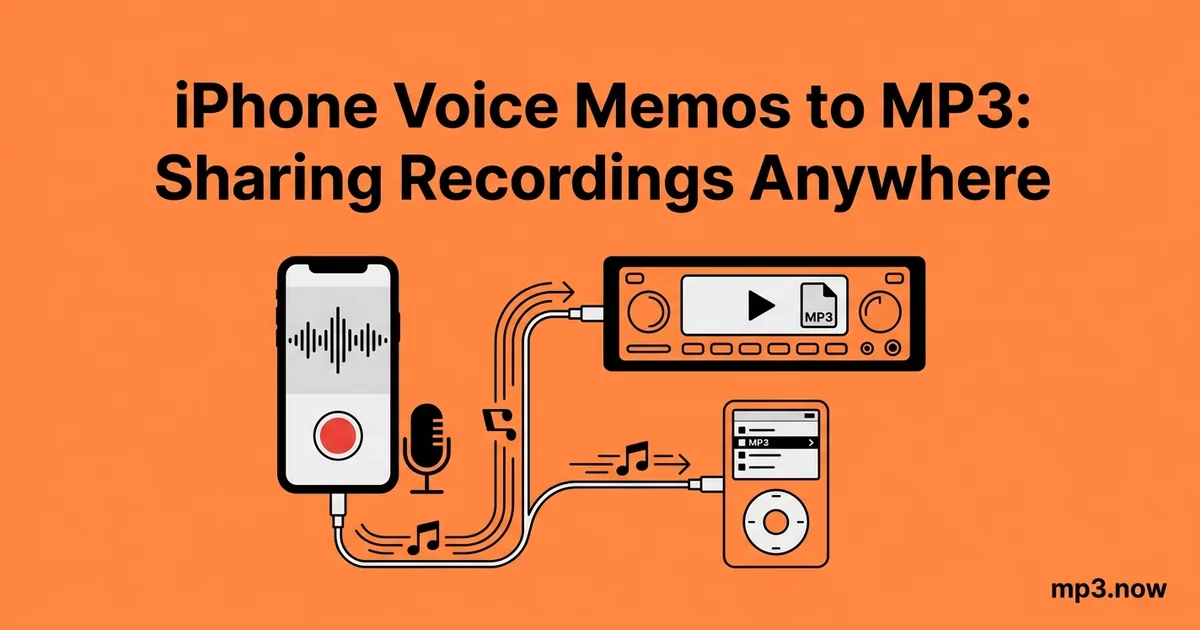
The Voice Memos app is the most-used recorder on Earth and one of the least understood. It captures interviews, lecture notes, song ideas, and family moments with one tap — and then saves them as M4A files that a surprising amount of the world refuses to play: older car stereos, plenty of Windows workflows, transcription and CMS upload forms that whitelist only MP3 and WAV, and half the "attach audio" fields on the web. The recording is fine. The container is the problem.
This guide covers what Voice Memos actually saves, where iOS hides the files, the convert-trim-share workflow that makes any memo universally playable, and the settings worth changing before your next important recording.
What Voice Memos actually records
Voice Memos records AAC audio inside an MPEG-4 container with an .m4a extension. By default it uses a compressed setting tuned for voice; in Settings > Voice Memos > Audio Quality you can switch to "Lossless," which records ALAC in the same .m4a wrapper at several times the file size. Either way, the format is technically excellent and practically awkward: AAC is a modern codec, but M4A support outside the Apple ecosystem remains patchy in exactly the places people need to send recordings — courtroom-adjacent workflows, radio stations, older in-dash players, and web forms written a decade ago.
Where iOS actually keeps the files
There is no visible "Voice Memos folder" on the phone, which causes most of the confusion. Your realistic export routes:
- The share sheet. Open the memo, tap the three-dot menu (or share icon), and use Save to Files, Mail, Messages, AirDrop, or any app that accepts audio. Save to Files is the cleanest: pick On My iPhone or iCloud Drive and you now have a normal .m4a file you can see.
- iCloud sync to a Mac. With Voice Memos syncing enabled, every recording appears in the Mac's Voice Memos app; drag any memo straight out of the app onto the desktop to get the .m4a.
- AirDrop. Fastest phone-to-Mac route for a handful of files.
- Windows users: share to Files or a cloud service (Dropbox, Drive, OneDrive) from the phone, then download on the PC. Plugging the phone in over USB exposes the roll of videos and stills but not Voice Memos, so the cloud hop is the practical path.
Step 1: convert M4A to MP3
Once the .m4a is out of the app, run it through the M4A to MP3 converter: upload, convert, download. For spoken recordings, the conversion settings barely matter to your ears — voice is undemanding — but two guidelines help:
- 128 kbps is more than enough for speech, and 96 kbps mono is fine for anything destined for transcription or messaging. Higher bitrates just make the file bigger.
- Don't chase quality upward. The memo was recorded compressed; converting it at 320 kbps cannot recover anything the microphone pipeline never kept.
The FAQ on converting voice memos to MP3 is the short version of this whole workflow if you just need the steps.
Step 2: trim to the part that matters
Most memos are 90 percent dead air, shuffling, and "okay, it's recording." The Voice Memos app has a built-in trim (tap the memo, three-dot menu, Edit Recording, then the crop icon) — use it when the cut is simple. For finer control after conversion, the MP3 trimmer lets you set precise start and end points and export just the segment: the two minutes of the lecture you actually need, the verse idea without five minutes of noodling, the quote without the small talk. The FAQ on trimming an MP3 online covers the details.
Step 3: shrink long recordings before sending
A one-hour meeting memo at Voice Memos' default quality lands in the tens of megabytes — over most email attachment limits once, and over messaging-app comfort always. The MP3 compressor brings an hour of speech under 25 MB easily; at mono 64 kbps, an hour is about 28 MB and a half-hour about 14 MB. For recordings that must be split rather than shrunk, trim into parts instead.
The complete workflow, condensed
- Record in Voice Memos; rename the memo immediately so "New Recording 47" doesn't haunt you.
- Share sheet → Save to Files (or AirDrop / cloud) to get the .m4a out.
- Convert to MP3 at a speech-appropriate bitrate.
- Trim to the useful segment; compress if it's long.
- Send, upload, or archive — it now plays everywhere MP3 plays, which is everywhere.
Recording habits that save you later
- Point the bottom of the phone at the source. The primary mics live at the bottom edge; a phone flat on a table pointing away records the table.
- Enable Lossless quality for anything irreplaceable — interviews with elderly relatives, one-take performances — and keep that original even after converting a shareable MP3 from it.
- Airplane mode for important takes. A call arriving mid-recording pauses your memo.
- Check storage before long sessions. Voice Memos fails ungracefully when the phone fills up mid-recording.
- Watch the auto-delete setting. Settings > Voice Memos > Clear Deleted lets recently deleted memos vanish permanently after 30 days by default — export anything important before a spring-clean, because a memo that only ever lived in the app has no second copy anywhere.
- Name a filing convention and stick to it. Date plus subject —
2026-03-10-thesis-supervisor— makes a five-year archive searchable in seconds.
The bottom line
Voice Memos records well and shares badly. The fix is a three-step habit: get the .m4a out via the share sheet, convert it with the M4A to MP3 converter, and trim or compress before sending. Five minutes total, and the recording that choked the car stereo and bounced off the upload form plays for everyone, everywhere, indefinitely.