
Screen Recordings to MP3: Repurposing Tutorials as Audio
OBS and Loom output WebM and MKV files that most audio tools reject. Converting screen-capture audio into podcast-style MP3s for listeners who don't need the screen.
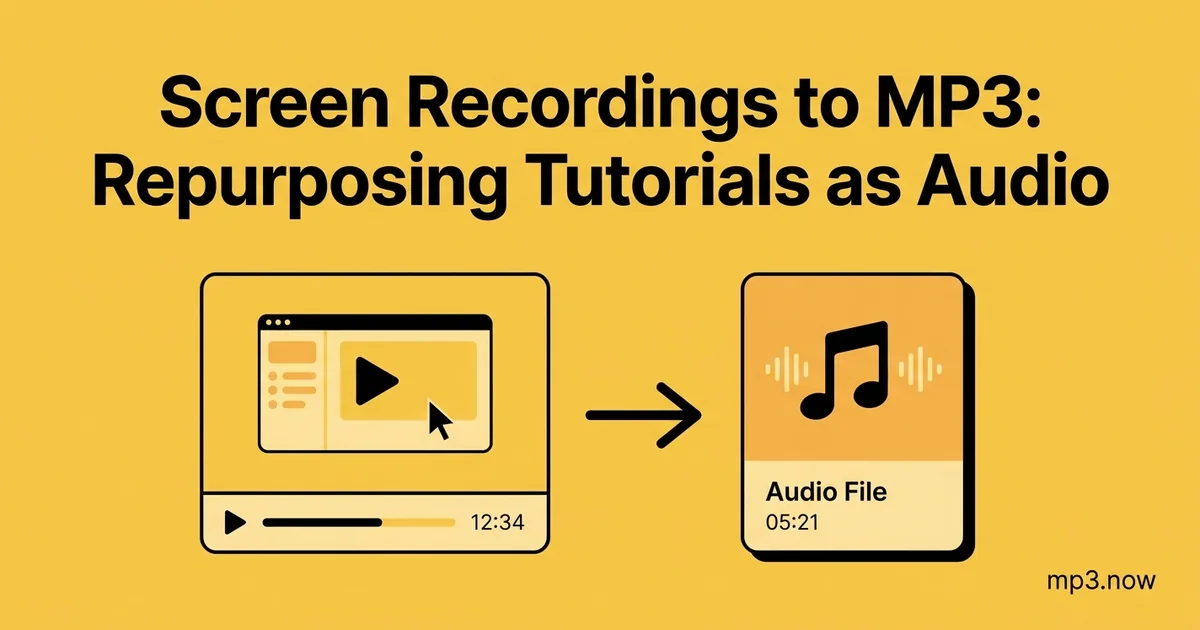
Screen recordings are one of the most under-used content sources on the internet. A forty-minute software walkthrough, a recorded coding session, a Loom explainer for a client — most of the value in these files is in the narration, not the screen. Yet they sit in WebM and MKV containers that podcast apps, phones, and most audio editors refuse to open. Converting the audio track out of a screen recording turns a video only some people will watch into an MP3 anyone can listen to on a commute.
This guide covers where the popular screen recorders hide their audio, why the container formats they choose cause so much trouble, and the exact conversion and compression settings that turn a tutorial into a clean, podcast-style audio file.
Why screen recorders output such awkward formats
OBS Studio records to MKV by default — deliberately. MKV is crash-resistant: if OBS or your machine dies mid-recording, the file up to that point is still playable, whereas an interrupted MP4 is often corrupt. Loom, Google Meet, and most browser-based recorders output WebM, because WebM is the container the browser's own media engine writes natively. Both choices are sensible for recording and terrible for sharing.
The audio inside these containers is usually AAC (in MKV from OBS) or Opus (in WebM). Both are perfectly good codecs — the problem is purely the wrapper. A podcast app expects MP3; an email recipient double-clicking a .mkv file on Windows may get an error, and a .webm attachment on an older phone simply will not open. The fix is a container-and-codec conversion, and it takes minutes.
The conversion step
Upload the recording to a WebM to MP3 converter if it came from Loom, Meet, or a browser recorder, or an MKV to MP3 converter if it came from OBS. The converter demuxes the file — separates the audio stream from the video — and re-encodes just the audio as MP3. The video data is discarded, which is why a 900 MB screen recording routinely becomes a 35 MB audio file.
If your recorder gave you a regular MP4 instead (QuickTime screen recordings, Camtasia exports, Zoom local recordings), the same principle applies via an MP4 to MP3 converter. The FAQ on extracting audio from video walks through that path in more detail.
Settings that suit narration
Screen-recording audio is almost always a single voice over a quiet room. That is the easiest possible material for MP3 encoding, so you can be aggressive with the settings:
- Bitrate: 96 to 128 kbps. Speech has far less spectral complexity than music. Blind tests on voice content show 96 kbps mono is transparent to nearly all listeners; 128 kbps leaves comfortable headroom. See the practical guide to bitrate for the underlying math.
- Channels: mono. Your microphone recorded one channel; a stereo file just stores it twice. A stereo to mono conversion halves the file size with zero audible change for voice.
- Sample rate: keep whatever the source used. 44.1 kHz and 48 kHz are both fine; resampling adds nothing for speech.
Cleaning up the result
A raw tutorial recording usually has dead weight at both ends: the fumbling before you start talking, the "okay I will stop the recording now" at the end. Run the converted file through a trim tool and cut to the actual content. If you recorded in multiple takes, merge the MP3s into one continuous file afterward.
Levels are the other common problem. Screen recorders default to whatever your system microphone gain happens to be, so recordings made weeks apart can differ by 10 dB or more. A pass through a loudness normalizer brings everything to a consistent level — and if you plan to publish the audio as a feed, the podcast bitrate FAQ covers the targets podcast apps expect.
When the audio deserves to be its own product
Some screen content genuinely needs the screen — a design review where you point at things, a spreadsheet walkthrough. But a surprising amount of tutorial content is fully comprehensible as audio: conceptual explanations, architecture discussions, code review commentary, recorded lectures. Publishing an audio version costs you one conversion and gives your audience a way to consume the material while driving or exercising.
A reasonable litmus test: play a random two-minute stretch of your recording with the screen off. If you can still follow it, the audio version is worth shipping. If you find yourself saying "click this, then this" constantly, keep it as video.
A repeatable pipeline
- Record as usual in OBS, Loom, or your browser tool.
- Convert the WebM or MKV to MP3 at 128 kbps mono.
- Trim the ends; merge multiple takes if needed.
- Normalize loudness so every recording matches.
- If the file is still bulky — long recordings add up — run it through MP3 compression to hit whatever size cap your host or email provider imposes.
File size expectations
At 128 kbps, audio costs about 1 MB per minute; at 96 kbps mono, roughly 0.7 MB per minute. A one-hour tutorial lands around 40 to 60 MB as MP3 — compared to 1 to 3 GB as a 1080p screen recording. That difference is why the audio version gets downloaded and the video version gets a "watch later" that never happens.
The whole pipeline — convert, trim, normalize, compress — runs in the browser and takes less time than re-watching your own intro. If you have a folder of old screencasts, an afternoon of conversion can turn it into a private podcast feed of everything you have ever explained.